Here is the second in a small series of posts about the development of the Gringo 40's Alamo game for Salute 2013. The first post was before Christmas and covered the building of the chapel. Here is the page if you missed it first time:
http://terrainandtoysoldiers.blogspot.co.uk/search/label/Alamo
and scroll down the page to part 1
Stage two involves making most of the rest of the compound. The game is on a 8ft x 6ft table so the whole Alamo complex model has to be scaled down to fit. I decided to cut out the footprints of the various buildings and lay them out on the boards to see how the arrangement looked. Once I was happy with these buildings I could fill in the gaps.
I have already made the chapel and started the old barracks as you can see but the outlines of the rest of the buildings are clear and you can see the layout. Each board is 2ftx2ft so it gives you the idea of how big it will be.
The buildings are all made from 10mm thick foam board. I used this thick board to give the walls the satisfying thickness that made them look right.
The walls were in very bad repair so I hacked the tops around abit and added small pieces of balsa. I then added daz pronto clay which turned the tops of the walls into decrepit walls.
I also covered the rest of the buildings in Daz.
Once the clay was dry and carved sections of it to look like stone.
It all looked a bit odd at this stage but I then added render all over the structures except for the carved stone areas. I use internal filler- any cheap stuff that you mix with water and it seems to work well.
The sections now really felt and looked like buildings and I was pleased with the results so far. The final job for now was to start painting so covered them with my usual yellow ochre paint ready for a wash of raw umber and then dry brushing.
I have built 6 sections to go round 3 sides of the compound. I am just missing the north wall but I won''t know the exact size of that until I have all these first sections complete.
That is it for this one. The next one should see these sections finished as well as details on building redoubts and other extra bits.
Showing posts with label Alamo. Show all posts
Wednesday, 27 February 2013
Thursday, 18 October 2012
40mm Alamo - part 1
This latest project is a biggy but the deadline isn't until Salute 2013 which is in April. It feels like it is ages away but as anyone knows who arranges games for conventions the date creeps up very quickly.
Gringo 40 approached me earlier in the year to discuss this project as Ged wants to expand his 40mm ranges to include a range for the Alamo. What better place to launch a new range than at Salute along with an eye catching game showing all the figures off. That is the plan- a complete Alamo compound in 40mm scale to compliment Geds figures.
You can find out more information and keep up to date with releases by going to Gringo 40's web site- http://www.gringo40s.com.
Here is a taster of the range- the first release is a small diorama of the death of Jim Bowie-
This is the first of a number of posts covering the project. I will detail how I have done things but will keep it fairly brief as the game will be on Wargames Illustrated magazine stand at Salute and there will be a more detailed article in the magazine.
The compound has to be played over so we decided to keep it to an 8ft x 6ft display. That immediately means I had to scale the compound down a bit as if I did it in true 40mm scale (400mm to 6feet approx) then the compound would be about 15 feet long. I had a play with it and the sizes and decided to work on it in stages with stage one being the iconic chapel. It is certainly the best known image of the fight and one that needs to be prominent in the compound. I decided I would build this first and fit everything else around it.
Before I started I had a look at the King and Country 54mm Alamo chapel facade to see if I could get away with using it. The detail on it is wonderful but if it was true 54mm scale then it would be useless. Fortunately it has been shrunk so was just about perfect for me.
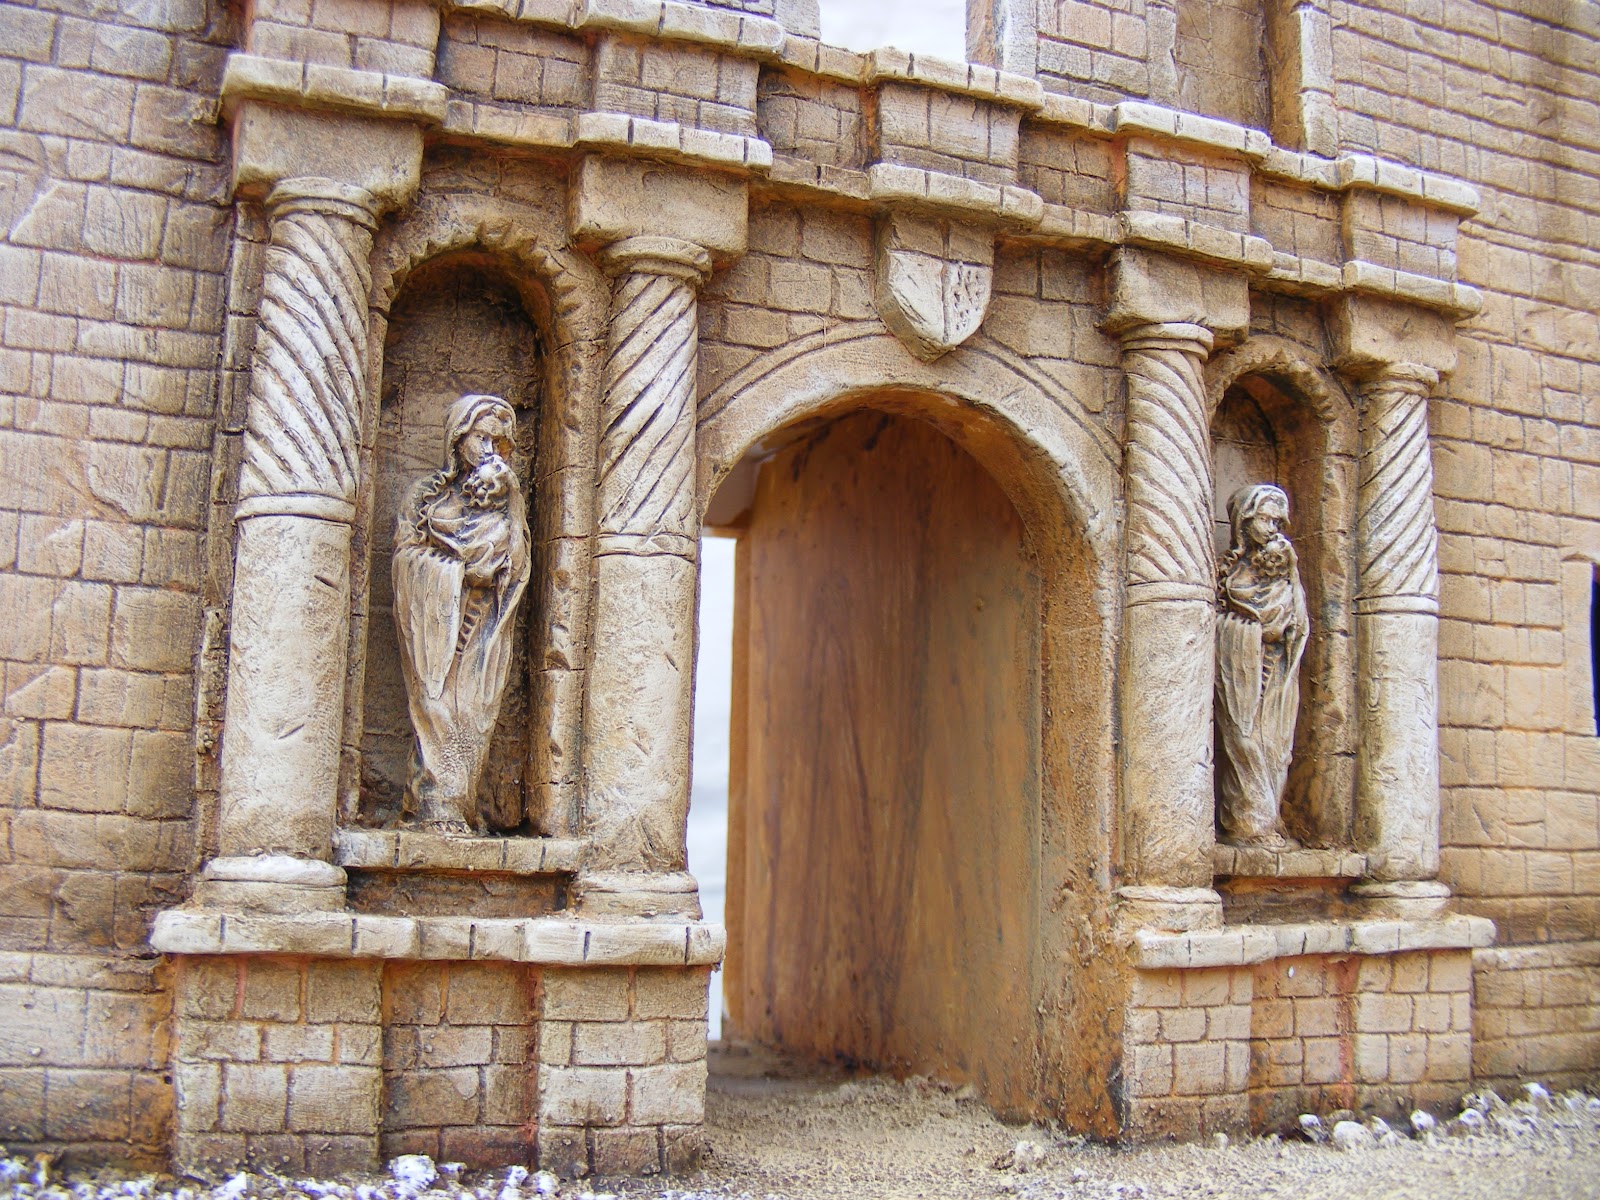
This photo is the facade straight out of the box with just a brown wash on it to bring out the detail for the photo. As you can see it is all there- it just needs a good paint job done on it. Once I had the front I built the rest from 10mm thick foam board and covered it in Daz Pronto clay.
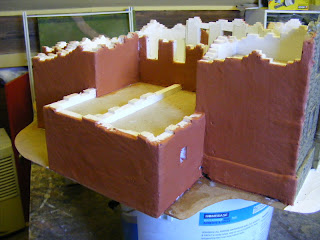
Once the clay was dry I marked out the stone pattern I wanted with a sharp pencil and then carved it out. This was the longest part of the job and by the time I had finished I was glad I didn't have any more to do!
While I was working on the outside I started on the inside with a ramp put in to get to the redoubt set up at the rear for some artillery. I also added some pillar details and plastered the walls. I needed to spend a bit of time on the insides as the whole thing was exposed as the building was never finished.
Once all the modelling was done all there was to do was to paint it. I used my usual palette of colours- an overall undercoat of yellow ochre ( both inside and out) washed with raw umber, dry brushed with Vallejo Dark Flesh, then again with Iraqi sand, again with a lighter buff and finally with a light dry brush of white to bring out the detail- in all 6 stages. Saying that, the very final layer was to add brown shading with raw umber- to highlight detail, add age and generally help with the weathering. The inside plasterwork was more heavily dry brushed with the lighter creams and white so it was considerably lighter than the stone work on the outside but still blended together.
The painting stages do take along time and sometimes it isn't obvious what effect some of the stages do to the model. Once it is finished then the effort is worth it.
The figures in these photos are from the Gringo 40 Mex American range so not directly from the Alamo but they were the closest I could get!
These first two show the detail on the entrance. It looks alot better in the flesh so to speak.
I would think there will be another 3 or 4 posts as the project grows along with a salute report and anything else that will complete the story. The next one will hopefully be before Christmas.
Gringo 40 approached me earlier in the year to discuss this project as Ged wants to expand his 40mm ranges to include a range for the Alamo. What better place to launch a new range than at Salute along with an eye catching game showing all the figures off. That is the plan- a complete Alamo compound in 40mm scale to compliment Geds figures.
You can find out more information and keep up to date with releases by going to Gringo 40's web site- http://www.gringo40s.com.
Here is a taster of the range- the first release is a small diorama of the death of Jim Bowie-
This is the first of a number of posts covering the project. I will detail how I have done things but will keep it fairly brief as the game will be on Wargames Illustrated magazine stand at Salute and there will be a more detailed article in the magazine.
The compound has to be played over so we decided to keep it to an 8ft x 6ft display. That immediately means I had to scale the compound down a bit as if I did it in true 40mm scale (400mm to 6feet approx) then the compound would be about 15 feet long. I had a play with it and the sizes and decided to work on it in stages with stage one being the iconic chapel. It is certainly the best known image of the fight and one that needs to be prominent in the compound. I decided I would build this first and fit everything else around it.
Before I started I had a look at the King and Country 54mm Alamo chapel facade to see if I could get away with using it. The detail on it is wonderful but if it was true 54mm scale then it would be useless. Fortunately it has been shrunk so was just about perfect for me.
This photo is the facade straight out of the box with just a brown wash on it to bring out the detail for the photo. As you can see it is all there- it just needs a good paint job done on it. Once I had the front I built the rest from 10mm thick foam board and covered it in Daz Pronto clay.
![]() |
| the rear of the chapel |
![]() |
| you can just see the stone pattern on this photo. |
Once all the modelling was done all there was to do was to paint it. I used my usual palette of colours- an overall undercoat of yellow ochre ( both inside and out) washed with raw umber, dry brushed with Vallejo Dark Flesh, then again with Iraqi sand, again with a lighter buff and finally with a light dry brush of white to bring out the detail- in all 6 stages. Saying that, the very final layer was to add brown shading with raw umber- to highlight detail, add age and generally help with the weathering. The inside plasterwork was more heavily dry brushed with the lighter creams and white so it was considerably lighter than the stone work on the outside but still blended together.
The painting stages do take along time and sometimes it isn't obvious what effect some of the stages do to the model. Once it is finished then the effort is worth it.
The figures in these photos are from the Gringo 40 Mex American range so not directly from the Alamo but they were the closest I could get!
These first two show the detail on the entrance. It looks alot better in the flesh so to speak.
![]() |
| My favourite photo- the angle and the view into the chapel along with the light makes it difficult to work out how big it is. |
Just to finish just a couple of vital statistics:
width of front 36cm (width at widest point 48cm
depth 50cm
height of facade- 22cm.
I would think there will be another 3 or 4 posts as the project grows along with a salute report and anything else that will complete the story. The next one will hopefully be before Christmas.
Wednesday, 29 February 2012
54mm Alamo front
This is a quick one. I was asked to make the facade of the Alamo chapel- the iconic view of the compound.
I decided the key to the look of the facade is the look of the pillars and the statues.
Here is a drawing of the famous building
I found an interesting statue so bought a couple of them and then made the rest of the building to fit them. The pillars were hand sculpted from dowel covered in green stuff. The rest of the detail around the doorway was made from balsa wood covered in Daz Pronto clay and then carved to look like stone.
The rest of the building was also covered in the clay and then carved when dry.
The final touch was painting. I used a base coat of yellow ochre washed with raw umber and then dry brushed with creams and sand/ buff colours to bring out the detail. The final weathering just dirties it up to make it lived in. The final result looks good and I have now been commissioned to do the rest of the building.
I said this was a quick one!
I decided the key to the look of the facade is the look of the pillars and the statues.
Here is a drawing of the famous building
I found an interesting statue so bought a couple of them and then made the rest of the building to fit them. The pillars were hand sculpted from dowel covered in green stuff. The rest of the detail around the doorway was made from balsa wood covered in Daz Pronto clay and then carved to look like stone.
The rest of the building was also covered in the clay and then carved when dry.
The final touch was painting. I used a base coat of yellow ochre washed with raw umber and then dry brushed with creams and sand/ buff colours to bring out the detail. The final weathering just dirties it up to make it lived in. The final result looks good and I have now been commissioned to do the rest of the building.
I said this was a quick one!
Subscribe to:
Posts (Atom)