Wednesday, 29 February 2012

54mm Alamo front

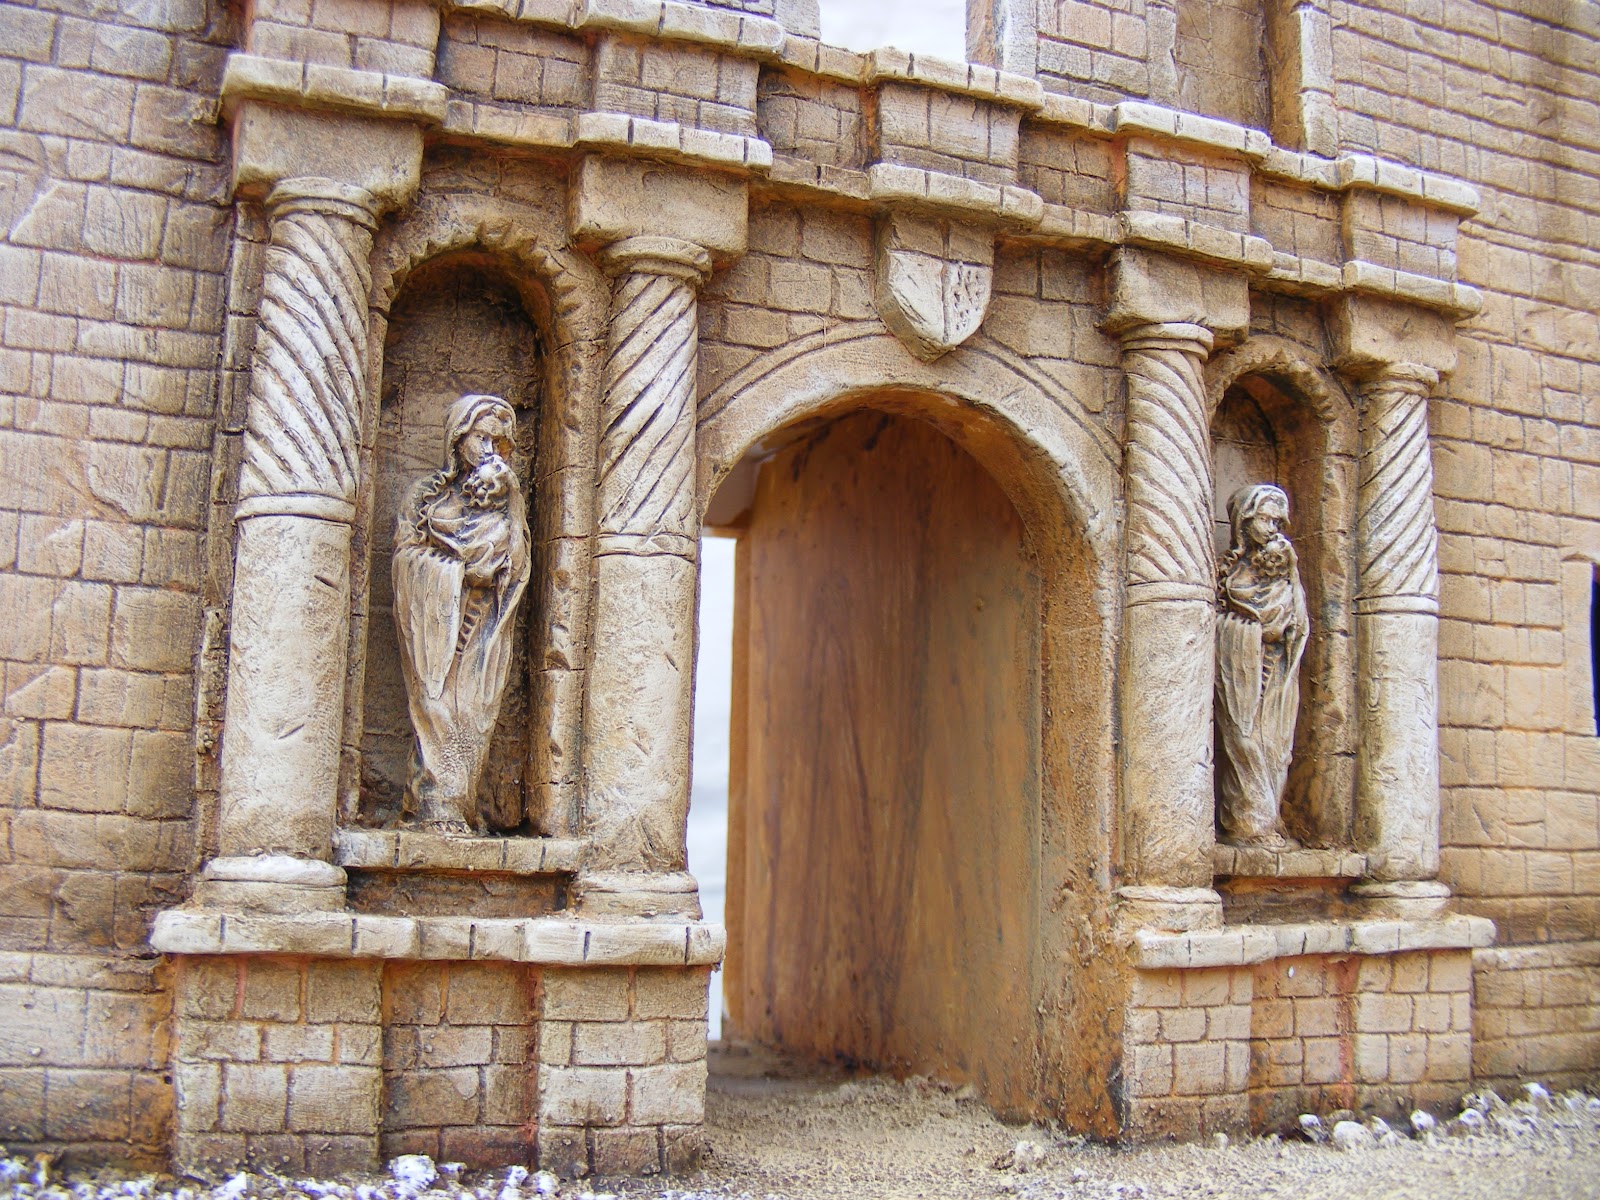
This is a quick one. I was asked to make the facade of the Alamo chapel- the iconic view of the compound.
I decided the key to the look of the facade is the look of the pillars and the statues.
Here is a drawing of the famous building
I found an interesting statue so bought a couple of them and then made the rest of the building to fit them. The pillars were hand sculpted from dowel covered in green stuff. The rest of the detail around the doorway was made from balsa wood covered in Daz Pronto clay and then carved to look like stone.
The rest of the building was also covered in the clay and then carved when dry.

The final touch was painting. I used a base coat of yellow ochre washed with raw umber and then dry brushed with creams and sand/ buff colours to bring out the detail. The final weathering just dirties it up to make it lived in. The final result looks good and I have now been commissioned to do the rest of the building.


I said this was a quick one!

54mm Roman marching fort

This project was a very new one for me- a Roman structure. Most of my work usually involves gun powder in some form or other so it was great to get involved in something a bit older.
The brief was to make the gate along with about 2 or 3 feet of wall with a circular hut in front of it next to a small stream.
The board ended up being 4ftx4ft split into 4 2x2ft boards so it could be shipped more easily to the USA.
There are no real secrets to how I did this dio. The grass was a mix of Woodland Scenics flock with the long bunches of grass from John Gittens in Sheffield. The water in the stream is made using the two part solid water mix from Delux. I add a bit of green ink into the mix just to dirty up the water a little. I also add vegetation and small stones into the bottom of the stream before I pour the resin and they show up nicely. I should try adding some fish one day, but that is for another project!

The walls are made from 'distressed' dowelling that I get from any good DIY store. My fingers are a mess after I have finished but the effect is worth it.
The hut was made from arranging thin strips of balsa wood into a circle, sticking bristles from a yard brush onto it and then rendering it with lots of the brush showing through. I was pleased with the effect.
These first fur pictures are ones I took before I shipped it. You get a good view of the stream and the hut.


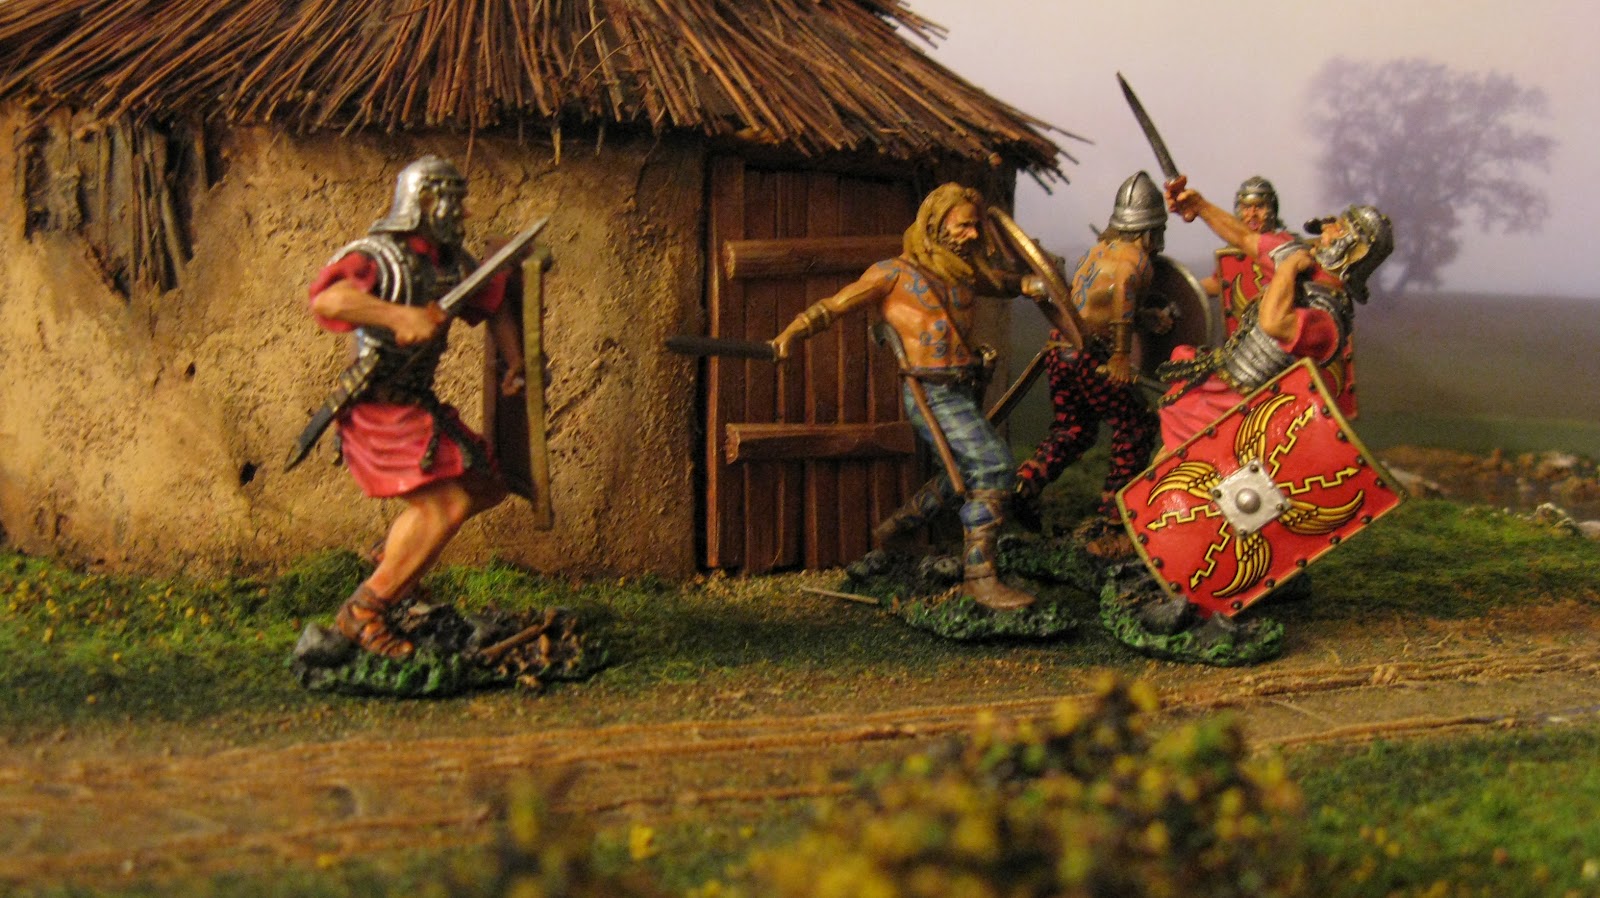
These next photos are taken by the customer with the figures on the diorama. It really brings the whole thing to life. I love it when I get photos of the diorama populated by figures- it always looks better than the bear photos I take.
I think the figures are a mix of First legion and Collectors Showcase and they go together very well.


That is it for this one. Thanks for the photos Joe.

Tuesday, 21 February 2012

Petrol Station

This project was a real first for me. The commission was to produce a petrol station for 28mm zombie/post apocalyptic gaming. The base was to be no bigger than 30cm x 30cm and I had a few photos of actual stations to use as a reference.
The photo that hit the spot for me was this one
I loved the Shell 'fin' coming out of the shop so I thought that would be the centre point of the whole thing. I was in danger of making something a little flat and uninteresting if I wasn't careful and this fin solved that problem for me.
The next thing I needed was petrol pumps and I couldn't find any anywhere that I thought was suitable so I got them made by my lase cutting friend, Andy Slater. He was able to make four for me in Shell colours and they looked great.
As I was making a Shell station I needed the Shell logo recreated and again Andy came to the rescue with a couple of Shell logos laser cut for me along with the SHELL letters.
I now had pretty much everything in place to begin and it didn't take me long to come up with the finished item-


You can see how well the pumps came out. The broken concrete floor is made from cork sheet that I tear and ends up looking just like cracked concrete.
I was pleased how the red fin did make all the difference and I was very glad I saw it on the photos.
The final touches with the weathering finished it off and gives it the feel of a deserted station ready to be fought over by a pack of marauding zombies.

Sunday, 19 February 2012

Russian Church

I haven't posted for over a month- where does the time go. I have been busy with projects so over this next week I will try to cover all the stuff i have been working on in February.
One of the first projects I needed to have finished was a wooden Russian church. It had to be ready for a demo game at the York show on the first Sunday of the month so there was no room for a slipped delivery.
We had a look at quite a few designs before my customer came a cross a pretty little wooden church that fitted what he was looking for
We decided the windows were a little ornate but otherwise it was a good one to match.

The dome came from an upside down Christmas decoration but everything else was built from my usual collection of things- a foam board frame covered with dowelling for the logs. The roof was Daz Pronto Air dry clay rolled out and scored to look like copper sheets.
All the roofs come off and the pointed tower has a large enough platform for a figure to stand in.
This is the third Russian Orthodox church I have made, the second in wood, and I think they are wonderful things and make a centre piece in any game.

Here is the finished model:


The logs are all notched so they fit together as you can see. It takes hours but the effect is well worth it. This model was the first time I painted green copper sheeting. I was a bit worried that it might let the model down but I was pleased with the result. I built it up in layers of green dabbing it on with a stiff brush, getting lighter as I went. The final touch was a few areas of copper showing through.

The day of the show saw it in action. Wargaming terrain always looks better with figures around it so here are some shots of the game


That is it for this one.

Wednesday, 18 January 2012

Mountain base project Pt3

The project is just about done now. I left it at the end of part two just about looking like a base but otherwise you needed alot of imagination to see the finished job.
The three big jobs I had left was to paint it, add the snow and do the railings.
 The painting was straight forward with a base coat of a mid grey, all washed in raw umber. Once that was dry I dry brushed with progressively lighter tones of grey with a last dusting of white. I also painted the ground work to look like mud so if I missed any areas with the snow it still looked good.
The railings ended up being worth it but each 30cm of railings was made up of about 65 pieces so patience was the word- it took me about one hour a foot to complete!
base coat added. Raw umber wash improves the look- sort of!
before the snow
a good shot of the railings
The snow is snow flakes from Deluxe Materials. I painted diluted PVA glue on all the areas I want the snow and then sprinkle the flakes all over the board. To help seal it and make it tough, I then spray it with very watered down PVA glue with some surgical spirit added to help it mix with the snow. I keep going with the process until I am happy with the look. It means the board is very wet so leave it to dry for a good 24 hours. Once it is dry you should have hard snow. If you have missed some areas then just repeat the above process.


 The cable car was finished as well with me building a steel support structure from plasticard. I have added some icicles to this but the photos haven't worked so you will just have to imagine them or come and see them at Salute this year at the Crooked Dice game.


 You can see how the cable car works in the above picture. A wooden dowel painted black is pushed into a hole in the villains lair and then it is supported by the steel structure at the other end. The cable car then rests on top of the cable so it can be moved during the game. The car has movable doors so you can get figures inside it so it should catch the eye during a game.


That is just about it for this project. I still have to work on the interior design for the lair but I am coming to the conclusion that this isn't my strongest skill but hopefully it will look suitably 60's in style.
Once I have delivered it to Karl at Crooked dice, the next time I will see it will be at this years Salute. I understand the figures are being painted by Kevin Dalimore so the whole thing should look terrific.