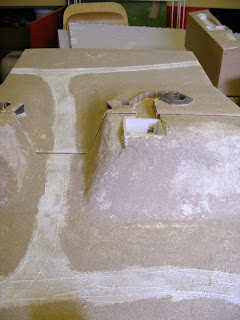
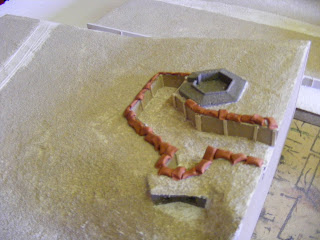
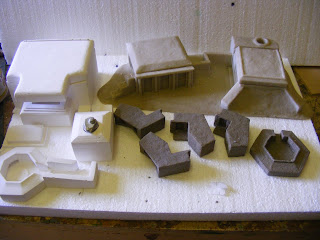
Once I was happy with this stage then I get on with starting to make it look good. I use a ready mixed grout and glue product that is designed to stick wall tiles to internal walls of houses. It is a pretty high spec so when it dries it is rock hard but it takes 12 hours to dry so you have ages to work with it.
 |
| beach covered with grout |
 |
| fortification close ups |
You can see from the photos that it is really taking shape now. You get to this stage but then have to leave it for 24 hours to dry off when all you really want to do is get on with it!
Up to now I follow this procedure with all my terrain boards but from now on things change depending on the finish the customer wants. In this case we are using the Rapid Fire D Day supplement as inspiration and the beach in the photographs showed painted sand for grass so this was next.
 |
| sand added everywhere except the roads |
 |
| sand around fortifications and sandbags added |
All I did was cover the boards in slightly watered down PVA glue and then covered it in sand making sure to miss the roads and anywhere else you don't want grass. This dries pretty quickly so you can then paint it but I like to coat it in watered down PVA glue to give it extra strength and durability. This adds at least 24 hours to the job, allowing it to dry, but I feel it is worth it.
Once the grass is down the temptation is to start painting but I had to resist until all the detail I wanted was added. You can see from the picture above that I added sandbags to all the trenches. I make them from Das Pronto- I make a sausage of the clay about 1/4" across and then gently roll it with a rolling pin to flatten it a little. I then cut it to sandbag length and stick them where I want them. I like adding sandbags as when they are painted they add an eye catching contrast to the rest of the landscape.
I then had to add the sea wall and shingle bank which was polystyrene cut to shape with loads of cat litter sprinkled on and glued in place.
All is now ready to paint. I always feel that I go a step backwards here as my base coats tend to be quite bright and really clash with each other. The grass is very green, the earth is a dull brown and the concrete and fortifications are quite a dark grey. The whole board gets covered and again you need faith that it will all be OK in the end!
 |
| the full colour palette in all its glory! |
 |
| it looka no better when you have another look! |
Finally, for this post, probably the messiest bit of the whole process occurs once the base coats are dry. I cover the whole thing in diluted raw umber paint- every crevice, grain of sand, inside and outside bunkers; everywhere.
 |
| brown everywhere |
 |
| where did the bright colours go? |
I am away for a couple of weeks now so will post the final edition of this project when I get back. I will also ask my customer to send me some photos of the board in action when he gets his figures on it playing because terrain always looks at it's best 'in action'


