I was contacted by a customer who wanted a large- wide and high, model of the Reich Chancellery. It was to be a backdrop for a display of figures so only needed to be a few inches deep. The customer had a road way already in place so all I needed to do in front of the building was to add a pavement.
I was sent some photos and digital representations of the building to base my plan on:


 |
| This is the one I worked off most but used the others to allow me to even up the windows either side of the entrance. |
 |
| my sketch that I worked from. |
All the pictures I worked from showed a wonderful eagle above the door. I very quickly decided that this was the eye catching piece of the model and I needed to track down something special. I contacted a few companies that sold the German figures along with military suppliers but nothing was right (I needed a wing span of 26cm so I was being quite fussy!). Over the last few months I have been getting more and more laser cutting done so I went to my supplier to see what he could come up with. He did an amazing job on it and I knew then it was going to be a special model.
 |
| The Eagle- 26cm from wingtip to wingtip! |
Once I had the windows I could start the process properly as I nearly always use the windows to scale up the rest of the building so until I have a window I find it tricky to start the build.
I quickly realised that a model nearly a metre and a half long was going to be very difficult to work on so I decided to split it into three- the entrance and the two wings.
This worked very well and was able to get alot of the work done on each section before I joined them all together. This joining was a bigger challenge. The joins had to be sturdy and well supported and then made to disappear. I think, after a long time working it all out they came together well.
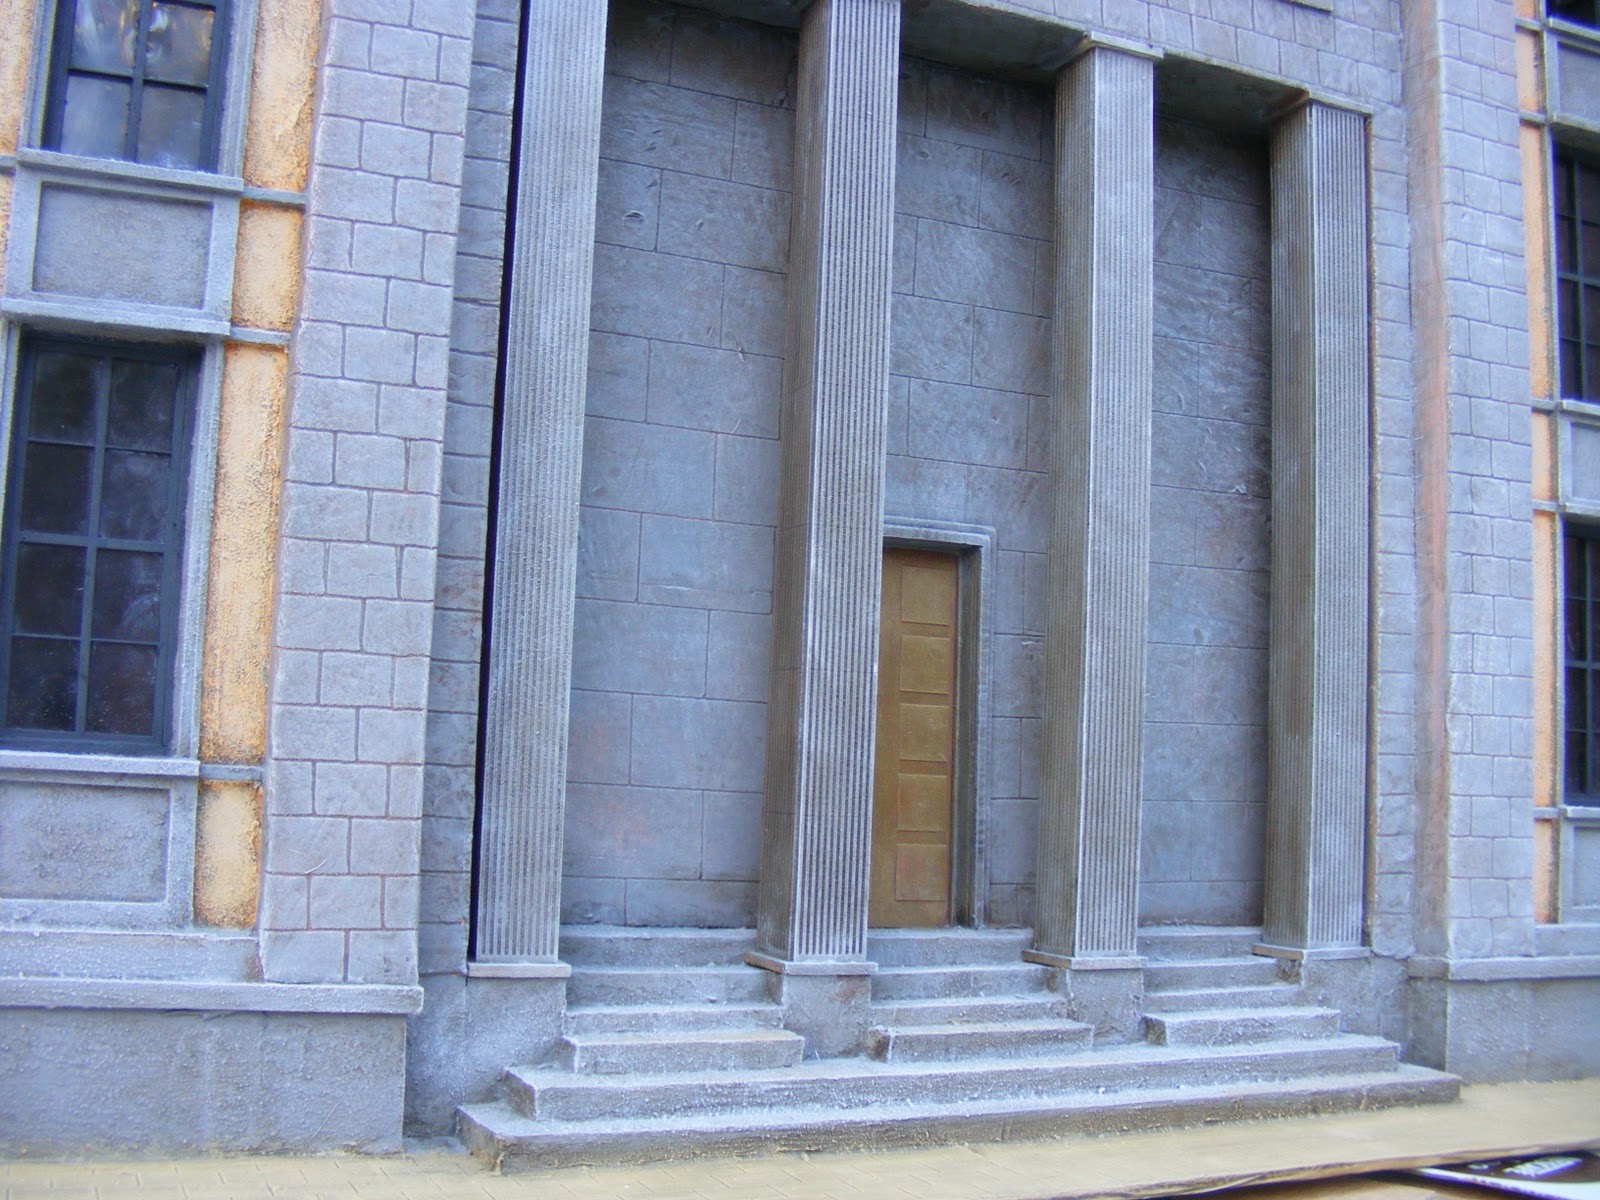
The entrance is the centre piece, not just because it is in the middle but because of the eagle, the pillars and the stone work.


I was pleased with how it turned out.
The two wings were identical. I used foam board for the main structure. The cornice and trim is balsa wood added in a series of layers to achieve the pattern.

I painted everything that was grey a deep grey and the lighter areas yellow ochre. The whole building was then washed in a raw umber wash. At this stage it looked horrible. I could then start to dry brush so the grey areas got about 3 layers of progressively lighter grey with a final light brushing of white. The yellow ochre areas got some Vallegio dark Flesh followed by Iraq sand highlight. Finally the black window frames had a highlight of black grey and that was about it.
The very last thing to do was to add 4 flags on the top of the building. I got these from the Flag Dude in the USA. I have added a link to his site. If you need a flag then he is your man.
Here is the finished item:
 |
| one window is open to add a figure |


 |
| Two of the four flags |


 |
| in all it's glory- too big to get the whole thing in shot. |
Really excellent stuff by Andy! I have commissioned TM Terrain in the past for models and I know Andy is rated highly by them. Must send off a commission or two soon!
ReplyDeleteWilliam
This comment has been removed by the author.
ReplyDeleteHey! Do you have a 3D model of it I could buy for 3d printing?
ReplyDeleteGreetings,
Vincent
The very last thing to do was to add 4 flags on the top of the building. I got these from the Flag Dude in the USA. I have added a link to his site. If you need a flag then he is your man. cotton white duvet sets , velvet razai cover price in pakistan ,
ReplyDelete