I have had this project made and delivered for a few weeks now but haven't got round to posting pics etc.
Dave Imrie saw the English Civil Wargame that I had done the terrain for at Salute 2011 and he liked the mill I had done there. A couple of months later he officially commissioned me to make one for him along with 4x4ft terrain boards. I finished it just after Salute this year so the whole process took just about a year!
Here is the overall board:
The 4 boards are my usual 595mm x 595mm size and 50mm thick. They are made from a frame of mdf and a base of hardboard. I then fill them with polystyrene and then add what I need to make the landscape that has been ordered. The whole thing is very robust and give very clean tough edges- there is more chance of the boards damaging you than you damaging the boards. This job saw me finish off with my usual mix of green flock- 3 shades with the first layer being dark green followed by a lighter shade, finishing off with a highlight of very light green. I then soak it all in watered down PVA glue to keep the flock in place. I always paint the earth before I flock so overtime if some flock is lost the earth showing through still gives it a good look.
The river is just painted polyfilla which is then varnished. I do use clear resins for water effects but only for small areas. I find if you get the colouring right then a good paint job makes a very effective river.
The mill itself is stone finished so I covered the foam board skeleton of the building with Daz Pronto (air dried clay). Once it was dry I was able to carve the stone pattern into it. It takes ages but is worth the effort. The sandstone colour is achieved with a yellow ochre base coat, washed with a raw umber and then dry brushed with a couple of shades of cream. The final touch is a bit of weathering with some raw umber- water streaks, splash marks- that sort of thing.
The outhouses were brick and I used brick embossed plasticard for them.
Some quick notes on some of the details
the courtyard tiles are from a dolls house supplier and they are sold as kitchen tiles. They are small pieces of real brick so the texture on them is wonderful.
Guttering from Skytrex and their railway range
windows are my own resin bits.
A small kitchen garden made from a kit that I can't remember the details of now.
Just to finish off with a few more pictures
That is it for this one. Dave is planning to use this for ECW gaming I think but I have made it as generic as possible so can be used for all sorts of periods.
Thursday, 23 August 2012
Tuesday, 21 August 2012
Open Day at Grey Goose Collectables
A couple of weeks ago I spent a very enjoyable weekend at Grey Goose Collectibles- the European distributor for Figarti collectible toy soldiers. Clive (Mr Grey Goose) also has a substantial collection from other manufacturers so there were figures everywhere all weekend. It was great.
The weekend saw the official opening of Clives new display area for the Figarti range and so many of his customers came to see what was on offer. I knew some faces but met many new people so it was loverly to spend time chatting about various aspects of the hobby.
The whole collection and displays of Figarti figures are all 1/30th ish scale so you can guess from the photos the size of the displays and how impressive they look.
I had another interest as a model maker. I have made a number of displays for Clive over the last few years and all of them were being fully utilised in the display area. It was quite a kick seeing all that hard work being used to its full potential.
Here are a few photos of Clives displays biased towards my own work! All of these dioramas have been scratch built by me for Clive over the last 3 or 4 years:
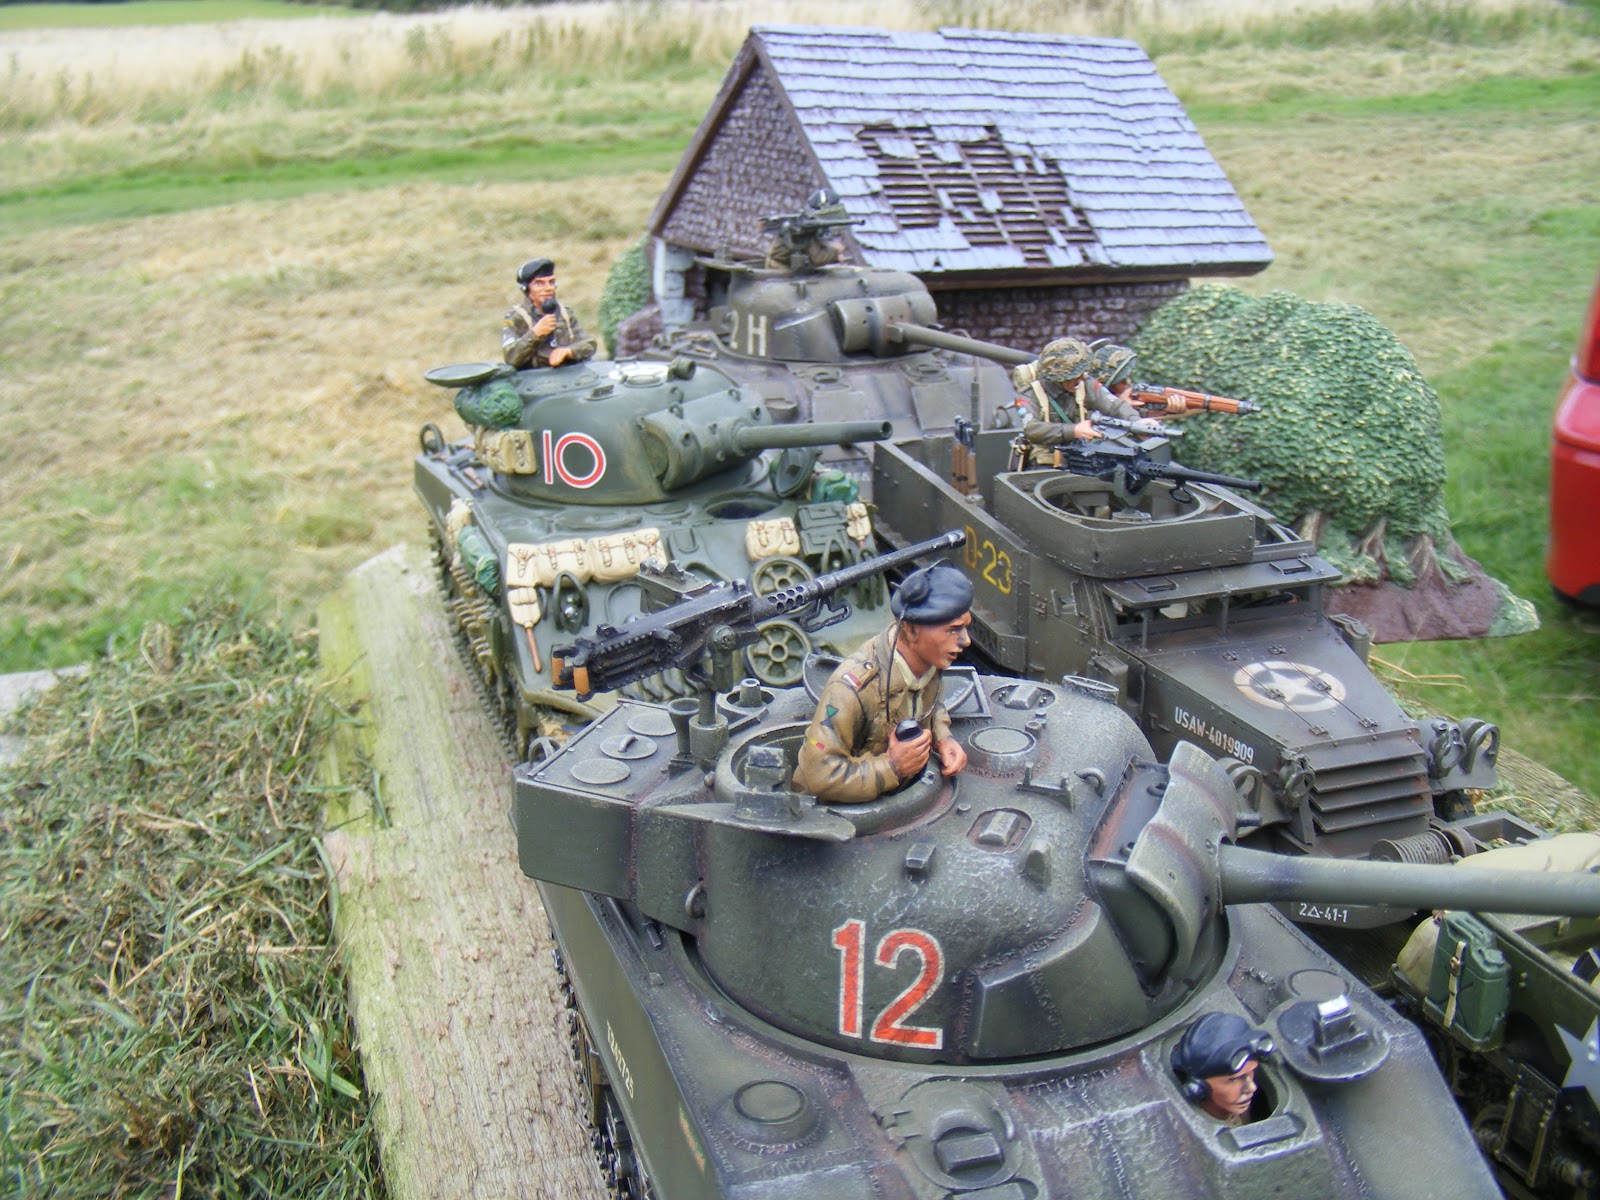
The fun didn't stop there with all these figures. Some of the guys then decided to try to recreate the look of 30 Corp advancing down the road towards Arnhem. The 'official' results of the shoot are planning to appear in a new book sooner or later but these are my efforts-
The first few are showing the overall working environment that was created to try to achieve the effects:
These next series are close ups of individual models. Most, I think are Figarti but some are from King and Country
Finally some longer shots trying to get the look of the column
That is it. This post is a little different to normal but I thought it would be good show what can be done with some superb models and a camera.
Next post is back to normal.
The weekend saw the official opening of Clives new display area for the Figarti range and so many of his customers came to see what was on offer. I knew some faces but met many new people so it was loverly to spend time chatting about various aspects of the hobby.
![]() |
| a small area of display. |
I had another interest as a model maker. I have made a number of displays for Clive over the last few years and all of them were being fully utilised in the display area. It was quite a kick seeing all that hard work being used to its full potential.
Here are a few photos of Clives displays biased towards my own work! All of these dioramas have been scratch built by me for Clive over the last 3 or 4 years:
![]() | |
| Hartstein Hotel, Arnhem 1944. The model is 4feet wide and 2 feet high. |
![]() |
| Hotel from another angle |
![]() |
| German railway station- 6ft x 3ft. Trains etc by Figarti |
![]() |
| the station from another view. Just look at the railway kit that Figarti have made! |
![]() |
| V2 rocket site. The rocket and vehicles again by Figarti (the railtrack and tunnel is not my work) |
![]() |
| The bocage is my work but otherwise all Figarti- impressive allied armoured column or what! |
![]() |
| ruined factory -2ft x 2ft diorama. Too much light reflecting off the display cover. |
![]() | |||
| a slightly better shot of the factory. We are looking to expand this dio to double its size. |
![]() | |
| nothing to do with me this time but just an impressive model- about 4feet long with enough room for 5 or 6 AFV's! |
The first few are showing the overall working environment that was created to try to achieve the effects:
These next series are close ups of individual models. Most, I think are Figarti but some are from King and Country
Finally some longer shots trying to get the look of the column
That is it. This post is a little different to normal but I thought it would be good show what can be done with some superb models and a camera.
Next post is back to normal.
Wednesday, 15 August 2012
Normandy village part 7
I have been working hard on the latest base in between the Olympics. If it wasn't for the radio commentary I wouldn't have got anything done for 2 weeks!
Progress has been steady but I would have hoped to have got a bit further than I have by now. The timber framed building has seen its roof take shape. Here is a photo of the original building.
The roof is a bit complicated with the dormers so I knew it would be a challenge. Normally I would use resin sheets of tiles to make the roofs but the detail was so delicate on this roof that I decided to make the roof structure from card, so it was easy to cut to the exact shape I wanted and then tile it with individual tiles made from plasticard.
I started by making the basic shape of the roof and then once dry adding the details.
The process of doing the roof was just to do one thing after another and don't get put off by each stage. It was going to come good and would be worth the effort.
The last step before tiling was to add the small roofs on the dormers. I now needed some painting to do so started on the building itself. A base coat of yellow ochre all over, washed with raw umber and then two heavy dry brushes of buff for the plaster. All the wood was then painted black followed by a dry brush of black grey.
The last thing I have done on this building was the tiling. It took hours but was worth it. Seeing the painted version will be on the next post.
I cut thin plasticard into small rectangles and then use super glue to stick them on to the card. Start at the bottom and work up to the top row by row.
While I was working on this building I began work on the row of houses that would back up onto it. I had about 15" length to fill so I went with 4 narrow houses with various roof styles and number of floors. I designed them, cut them out, added laser cut windows and glued them together into one row.
I wanted to have a couple of them painted quite brightly so went with a yellow and sky blue. I thought these would add a little contrast to the rest of the subdued pallet. Once I had rendered them with plaster the paint job looked like this
You will notice from this photo that I have also been working on the town hall. I have painted it with a base coat of yellow ochre, a wash of raw umber and then dry brushed with a cream, and then a buff and finally a very light white dry brush.
The roof has also been built and again I have decided to tile it with individual tiles. The roof has a hollow top ready for an AA gun which you can see from this photo taken before I had started painting it.
The board is now looking pretty full
I have got further than this but I realise I haven't taken any photos for a couple of days so will do another post, part 8 in a couple of days with a final one next week (or maybe the week after) when it is finished.
Progress has been steady but I would have hoped to have got a bit further than I have by now. The timber framed building has seen its roof take shape. Here is a photo of the original building.
The roof is a bit complicated with the dormers so I knew it would be a challenge. Normally I would use resin sheets of tiles to make the roofs but the detail was so delicate on this roof that I decided to make the roof structure from card, so it was easy to cut to the exact shape I wanted and then tile it with individual tiles made from plasticard.
I started by making the basic shape of the roof and then once dry adding the details.
The process of doing the roof was just to do one thing after another and don't get put off by each stage. It was going to come good and would be worth the effort.
The last step before tiling was to add the small roofs on the dormers. I now needed some painting to do so started on the building itself. A base coat of yellow ochre all over, washed with raw umber and then two heavy dry brushes of buff for the plaster. All the wood was then painted black followed by a dry brush of black grey.
The last thing I have done on this building was the tiling. It took hours but was worth it. Seeing the painted version will be on the next post.
I cut thin plasticard into small rectangles and then use super glue to stick them on to the card. Start at the bottom and work up to the top row by row.
While I was working on this building I began work on the row of houses that would back up onto it. I had about 15" length to fill so I went with 4 narrow houses with various roof styles and number of floors. I designed them, cut them out, added laser cut windows and glued them together into one row.
I wanted to have a couple of them painted quite brightly so went with a yellow and sky blue. I thought these would add a little contrast to the rest of the subdued pallet. Once I had rendered them with plaster the paint job looked like this
You will notice from this photo that I have also been working on the town hall. I have painted it with a base coat of yellow ochre, a wash of raw umber and then dry brushed with a cream, and then a buff and finally a very light white dry brush.
The roof has also been built and again I have decided to tile it with individual tiles. The roof has a hollow top ready for an AA gun which you can see from this photo taken before I had started painting it.
The board is now looking pretty full
I have got further than this but I realise I haven't taken any photos for a couple of days so will do another post, part 8 in a couple of days with a final one next week (or maybe the week after) when it is finished.
Tuesday, 24 July 2012
Normandy village part 6
First of all sorry for the big gap between this new post and my last at the beginning of May. My back decided to play up big time which meant I haven't been able to sit down comfortably for any length of time so couldn't post anything of any use.
Enough of the boring stuff.....
I have just started another section of the Normandy village. The first 5 parts of the string of posts cover the making of the first sections. The aim is to build enough stand alone pieces so they will cover an 8ft x 4ft area so there can be a good sized village to fight over using figures painted by Artmaster and vehicles built by Troop of Shrew. The game will at Salute 2013 and should be spectacular when everything is done.
This new section is 28" long and 16" wide. This is bigger than the first section as we want a larger courtyard in the middle.
I started off again by sketching out on the base board the sort of layout we were looking for- there needed to be a larger court yard and we wanted a Town Hall type building at one end but other than that the brief was pretty loose.
The sketch gave me an idea of what space I had to play with and the sort of buildings I needed to design. The town hall is on the right of the photo and takes up a large chunk of the board. I was struggling a little for inspiration for the longer thinner building running along the bottom. I wanted to find something that looked a bit different to the other buildings I had made in stage 1. I went for Google and searched for Normandy building photos and trawled through them until I came across this-
As soon as I saw it I knew that was the one. If I can get the roof and other details right then it could potentially be the centre piece of the town. I had enough laser cut windows still around so before I knew it I had it designed and cut out.
The photos shows the first floor windows all shuttered closed so we decided to do the same so I sealed them off and only left the upstairs windows open ready to put in window frames. At this stage I haven't made the smaller wing of the building as I don't know exactly what space I will have as it will back onto the rear of the town hall so until I have that gap worked out there is no point working on this small extension.
Once I had glued the pieces together (I used my usual 5mm foam board) I started covering it in strips of balsa to resemble the timber framed pattern on the real thing.
I have guessed the pattern on the rear, deciding it would be simpler with no pattern in it as it wouldn't be on show.
The above photo also shows the extra bracing I have added inside the house. This will help the model keep its shape once I start to plaster the walls. The plaster will go in between all the framing to give it texture and a better finish to just plain foam board. That is for tomorrow as I have left the model today to let everything dry so when the plaster tries to warp the walls it should all stay together and keep its shape.
At the same time as working on this timber framed building, the town hall has started to take shape. We originally wanted a 4 story building but it looked all wrong when I laid it out so we cut the top floor off leaving it as an imposing 3 story building.
Once I have the carcass of the building made I start adding mounting card onto it to make the whole thing more interesting. It makes rendering it more complicated but it is worth it. It gives you ridges to highlight when you paint it and just makes the model more '3D'. I have used black card to make it easier to show on the photo where I have used the card.
The next stage will be to render the whole building and then add a roof, a balcony above the main door and paint it.
That brings things up to date. The next few days will probably see me rendering and plastering both buildings but I want to start on the roof of the timber building as it will be a massive challenge to getting it to look like the real thing. Hopefully the next update will see some progress.
Enough of the boring stuff.....
I have just started another section of the Normandy village. The first 5 parts of the string of posts cover the making of the first sections. The aim is to build enough stand alone pieces so they will cover an 8ft x 4ft area so there can be a good sized village to fight over using figures painted by Artmaster and vehicles built by Troop of Shrew. The game will at Salute 2013 and should be spectacular when everything is done.
This new section is 28" long and 16" wide. This is bigger than the first section as we want a larger courtyard in the middle.
I started off again by sketching out on the base board the sort of layout we were looking for- there needed to be a larger court yard and we wanted a Town Hall type building at one end but other than that the brief was pretty loose.
The sketch gave me an idea of what space I had to play with and the sort of buildings I needed to design. The town hall is on the right of the photo and takes up a large chunk of the board. I was struggling a little for inspiration for the longer thinner building running along the bottom. I wanted to find something that looked a bit different to the other buildings I had made in stage 1. I went for Google and searched for Normandy building photos and trawled through them until I came across this-
As soon as I saw it I knew that was the one. If I can get the roof and other details right then it could potentially be the centre piece of the town. I had enough laser cut windows still around so before I knew it I had it designed and cut out.
The photos shows the first floor windows all shuttered closed so we decided to do the same so I sealed them off and only left the upstairs windows open ready to put in window frames. At this stage I haven't made the smaller wing of the building as I don't know exactly what space I will have as it will back onto the rear of the town hall so until I have that gap worked out there is no point working on this small extension.
Once I had glued the pieces together (I used my usual 5mm foam board) I started covering it in strips of balsa to resemble the timber framed pattern on the real thing.
![]() |
| the front |
![]() |
| the rear |
The above photo also shows the extra bracing I have added inside the house. This will help the model keep its shape once I start to plaster the walls. The plaster will go in between all the framing to give it texture and a better finish to just plain foam board. That is for tomorrow as I have left the model today to let everything dry so when the plaster tries to warp the walls it should all stay together and keep its shape.
At the same time as working on this timber framed building, the town hall has started to take shape. We originally wanted a 4 story building but it looked all wrong when I laid it out so we cut the top floor off leaving it as an imposing 3 story building.
Once I have the carcass of the building made I start adding mounting card onto it to make the whole thing more interesting. It makes rendering it more complicated but it is worth it. It gives you ridges to highlight when you paint it and just makes the model more '3D'. I have used black card to make it easier to show on the photo where I have used the card.
The next stage will be to render the whole building and then add a roof, a balcony above the main door and paint it.
That brings things up to date. The next few days will probably see me rendering and plastering both buildings but I want to start on the roof of the timber building as it will be a massive challenge to getting it to look like the real thing. Hopefully the next update will see some progress.
Subscribe to:
Posts (Atom)