Thursday, 13 October 2011

Stone effects

I was going over my photos of previous work and realised that I have done alot of buildings that involve recreating a stone effect. I thought I would describe how I do it and show some of the buildings I have made.

English Civil war Watermill in 28mm scale
 The key word in the whole process is patience! (I suppose that is true with nearly all terrain making projects). I first of all make a framework of foam board. I use this for all my buildings. It is light and strong and easy to cut with a sharp scalpel. It is important to know that you will be making a stone effect at this stage because the frame needs lots of extra bracing because otherwise it will warp badly if you don't.
A well braced foam board frame for a 54mm Rourkes Drift building.

I leave this to dry overnight as the joints do come under alot of pressure so it is important to make sure you have good strong joins. I then get Daz Pronto air dried clay and roll it out to maybe a 1mm thick sheet- just like pastry!
I use a wooden rolling pin and grease proof paper.
I then have to coat the building in PVA glue as the clay will not stick by itself. Once coated I add the clay to the frame and work reasonably quickly to cut it to shape, get the air out and check it is well glues down. It takes hours to dry but it starts to stiffen after half an hour which makes it harder to work.

covered in Daz Pronto clay.

The clay will take about 12 to 24 hours to dry completely so it can be carved. If the bracing wasn't good enough then the walls will slowly warp and possibly some of the joints come apart. There will then be no choice but to start again!

draw out the stone pattern
I then draw out the pattern on the clay if it is complicated or sometimes just draw straight lines on the wall parrallel to the floor. Once the drawing is complete the last thing to do is to carve out the pattern. I follow the pencil marks with a scalpel. Once the pattern has been cut out I rub it over with a fine wire brush to smooth the edges and then chip away at some of the stones and generally work at it until I am happy with the finish. It isn't a bad idea to wear a dust mask as it can create some very fine dust.

carving finished
The sample I have shown here is fairly straight forward but you can add more detail and interest before you add the clay to the wall by adding card and balsa wood to create depth-
an example of extra detail
I find it is worth spending the extra time adding extra detail as it adds so much more interest than just a flat wall.
Anyway, once you have completed the carving all you have to do is paint it. I usually go for one of two colours- grey or sandstone.
Sandstone finish

grey finish

Saying that, I did have to re create South African stone walling for Rorkes Drift and that involved a far more intricate scheme-
South African Walling
This looks very similar to sandstone on the photo but it involved painting each stone in one of 4 or 5 colours. I then washed it all brown and finally dry brushed. It took ages!
The sandstone finish is a yellow ochre base, washed brown followed by two highlights of cream and sand. The grey finish is a base coat of meduim grey, washed brown and then highlighted a lighter grey and finally a light brushing of white. I can also add weathering with water streaks amd dirt to give it a bit of age or I may want to highlight something on the building. That is it.
What follows is some examples of the stone effects and where I have used it:

40mm Spanish chapel. Stone with added pillars and pantile roof

20mm Arnhem inspired bridge- see weathering on stone

28mm European church

28mm Lord of the rings inspired hall- I was pleased with the animal carving

same hall from the side- the figure you can see is on a horse so the building was big!

Spanish walled town- the arches on the walls add real interest.

28mm church found in York, UK

York city gateway

gateway from straight on.

small crusader diorama

stone bridge in 54mm
I hope you find this one useful. More next week.

Thursday, 6 October 2011

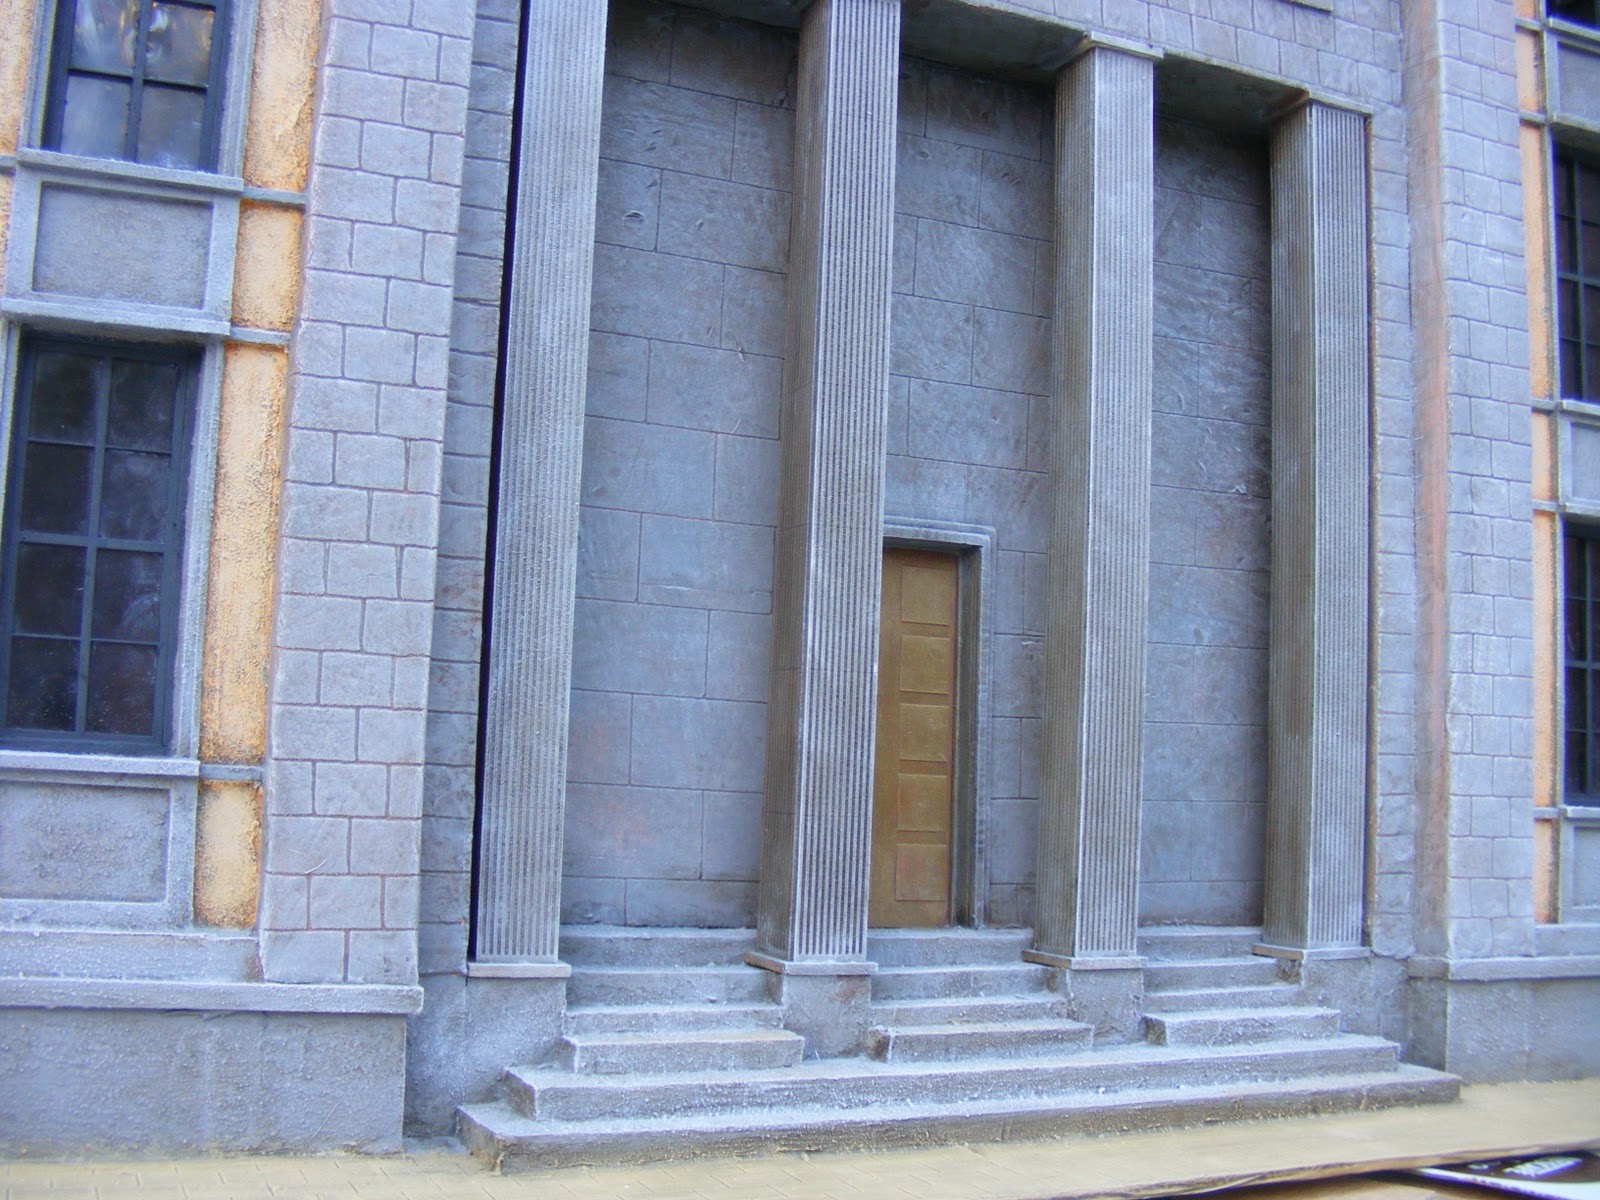
54mm The Reich Chancellery backdrop

I have just shipped my latest 54mm project- a 54mm (approx 1/30th) representation of the front of the Reich Chancellery building sometime during the 1930's.
I was contacted by a customer who wanted a large- wide and high, model of the Reich Chancellery. It was to be a backdrop for a display of figures so only needed to be a few inches deep. The customer had a road way already in place so all I needed to do in front of the building was to add a pavement.
I was sent some photos and digital representations of the building to base my plan on:


This is the one I worked off most but used the others to allow me to even up the windows either side of the entrance.
The bottom picture shows just how big the model needed to be- the guards look tiny! The above information along with a few emails backwards and forwards finally turned into a sketch. I am very flexible at this stage so I hardly ever do a proper drawing that I work from. This sketch gave me enough information to get going with it:
my sketch that I worked from.
The dimensions on the drawing show the finished model as 120cm long and 60 to 70 cm high- the height did end up around that but the length finished at 140cm so you can tell how things change during the build.
All the pictures I worked from showed a wonderful eagle above the door. I very quickly decided that this was the eye catching piece of the model and I needed to track down something special. I contacted a few companies that sold the German figures along with military suppliers but nothing was right (I needed a wing span of 26cm so I was being quite fussy!). Over the last few months I have been getting more and more laser cutting done so I went to my supplier to see what he could come up with. He did an amazing job on it and I knew then it was going to be a special model.
The Eagle- 26cm from wingtip to wingtip!
The model was going to consist of 24 identical windows along with 4 imposing pillars at the entrance so I arranged to get these laser cut and they were perfect when they came back to me.
Once I had the windows I could start the process properly as I nearly always use the windows to scale up the rest of the building so until I have a window I find it tricky to start the build.
I quickly realised that a model nearly a metre and a half long was going to be very difficult to work on so I decided to split it into three- the entrance and the two wings.
This worked very well and was able to get alot of the work done on each section before I joined them all together. This joining was a bigger challenge. The joins had to be sturdy and well supported and then made to disappear. I think, after a long time working it all out they came together well. 
The entrance is the centre piece, not just because it is in the middle but because of the eagle, the pillars and the stone work.

The stone work was done in my usual way of carving blocks into the air dried clay. I had made the basic frame from foam board so I had to brace it well to stop it warping after I added the clay. The eagle was put in a small recess to give it even more presence and then the pillars,over 30cm long, were added right at the end. The steps needed a bit of thinking about as I needed to leave a flat area for the guards in front of each pillar and have them growing at the sides so not the normal stairs.
I was pleased with how it turned out.
The two wings were identical. I used foam board for the main structure. The cornice and trim is balsa wood added in a series of layers to achieve the pattern.

I then coated both wings with a couple of coats of finely textured paint to cover up the grain in the balsa and to make it all look like stone. Once that was dry it was onto painting.
I painted everything that was grey a deep grey and the lighter areas yellow ochre. The whole building was then washed in a raw umber wash. At this stage it looked horrible. I could then start to dry brush so the grey areas got about 3 layers of progressively lighter grey with a final light brushing of white. The yellow ochre areas got some Vallegio dark Flesh followed by Iraq sand highlight. Finally the black window frames had a highlight of black grey and that was about it.
The very last thing to do was to add 4 flags on the top of the building. I got these from the Flag Dude in the USA. I have added a link to his site. If you need a flag then he is your man.
Here is the finished item:

one window is open to add a figure


Two of the four flags


in all it's glory- too big to get the whole thing in shot.
This was a very interesting project to do. I haven't been involved in making many buildings this modern. It was the first building I have made with serious amounts of laser cutting involved and I think it made all the difference. If the eagle hadn't turned out as well as it did then the whole thing wouldn't  have looked as good. I used to make all my windows from resin but I think I will be moving away from that to the laser cutting- they are cut perfectly and once I have the design in the computer it can be scaled up to any size. This is important to me as I am doing work from 15mm to 54mm.


Tuesday, 20 September 2011

54mm diorama- France,WW2

I was approached to produce a 54mm diorama that would be able to display a large number of vehicles and figures on a number of different levels. If the diorama was on just one level then the displayed hardware could get confused and the overall effect lost.
After quite a bit of going backwards and forwards with ideas we came up with the following plan- a road running alongside a canal. The canal also has a small dirt track at 'water level' running under a bridge. The diorama was to be backed by a number of house fronts that could have figures placed in the windows. The final level was achieved by adding a small jetty to the canal. It meant we ended up with 5 different levels for figures to be displayed on.
early stages where you can see the levels involved.
The above picture shows the diorama at a very early stage. The unique thing of this picture is the drawing I have added to the layout at this early stage. I tend to plan and design as I go so to look that far ahead in a project for me is unusual! It does give you a very good idea of how the finished layout will look and what is trying to be achieved.
The diorama ended up being about 3feet x 3feet and to give it strength and to have good clean edges I had a wooden carcass made (as I do with nearly all terrain boards and dioramas) and filled it with polystyrene. That gave me the basic shape and I then knew I could happily add the detail to it or easily cut into it for the stairways and trenches.
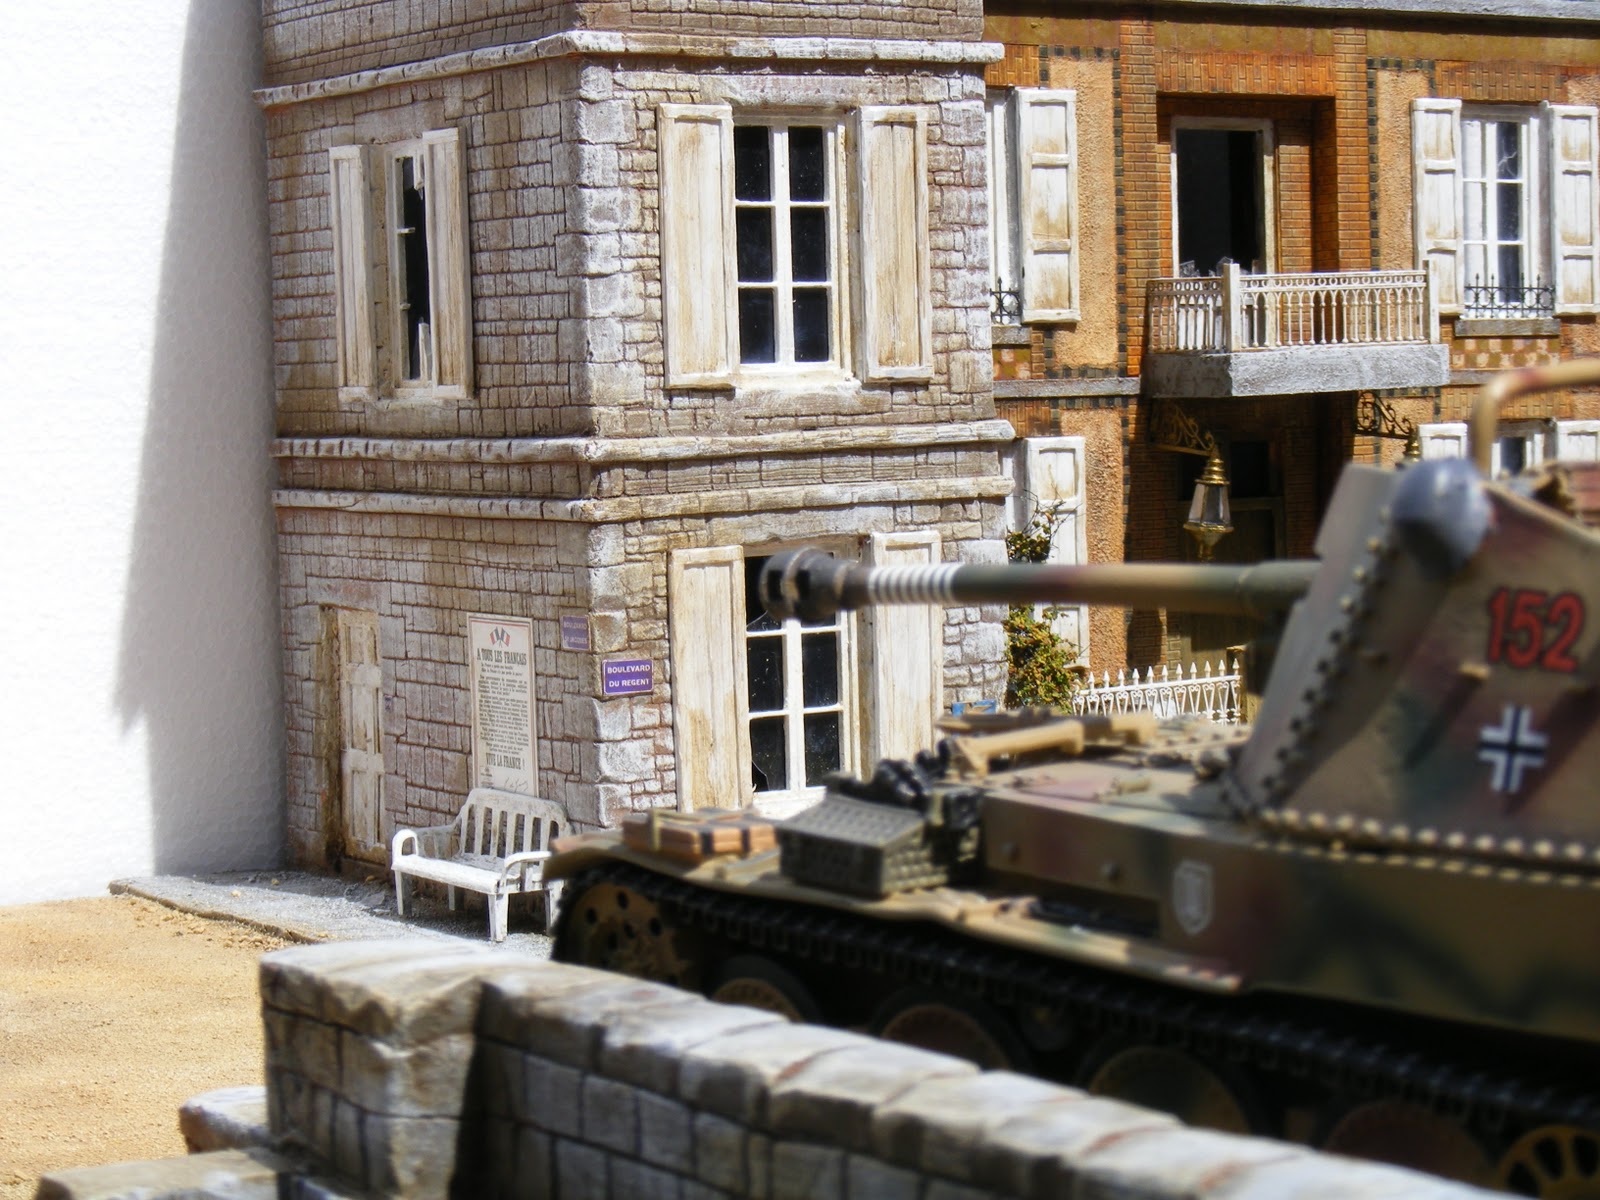
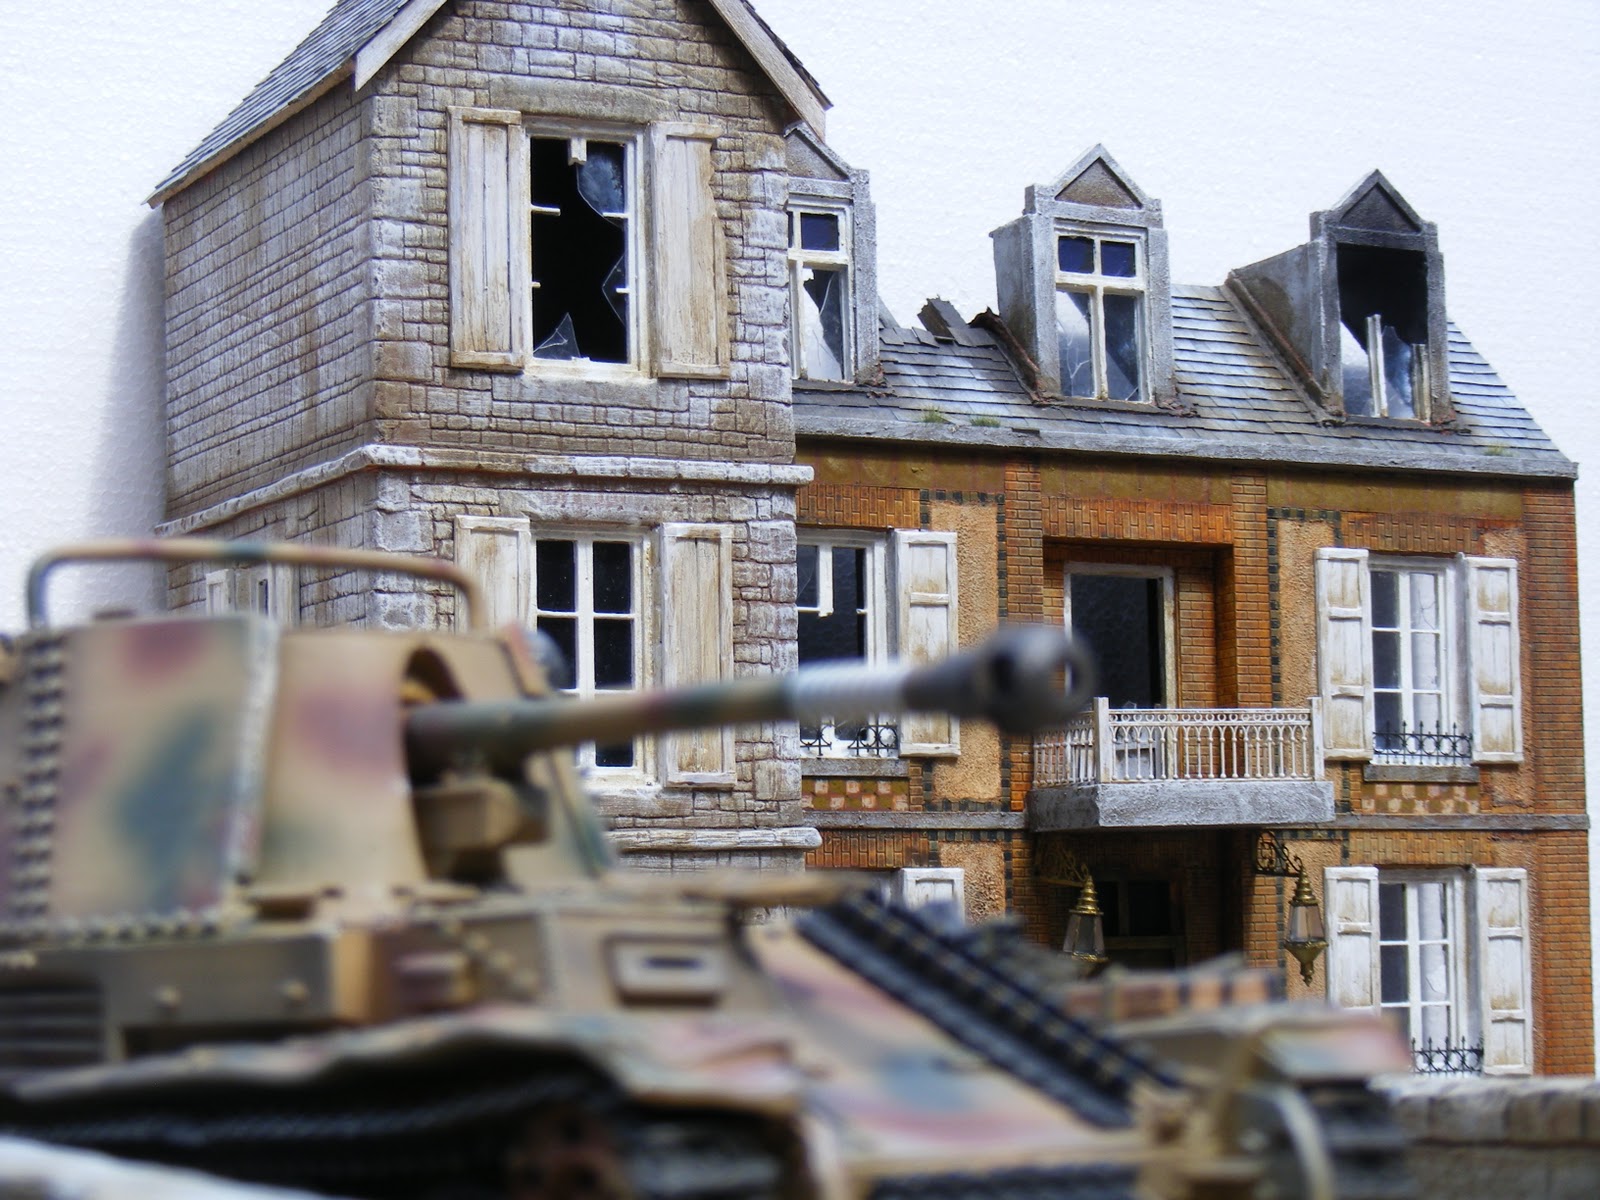
The buildings fronts were inspired by real Normandy buildings- the building on the left is based on Cafe Gondaree that you can find next to Pegasus bridge
I had the original window design laser cut and they came out beautifully- the detail is very delicate and the whole thing is perfectly square. The door comes from my stock of resin pieces and the wall finish is a mix of platicard strips and grout.

The next two buildings come from photos I took when I was in Normandy last summer. I can't remember where I was but this is the photo I took of this wonderfully atmospheric French house. I just had to make it.
the real house
early days with the model
The model again is made using windows I had laser cut but this time in a different design. I used brick embossed plasticard to recreate the brick and tile patterns. It doesn't look much now but you need faith that it works out in the end.
The building to the left of this house, that you can see is red, was based on a few I saw on my Normandy trip and was also influenced by the amount of space I had left. I decided on a stone building to contrast with the other two. It is red in the picture because I have covered it in Daz Pronto- the air dried clay. I then carve out the stone pattern in it. I find it works really well as long as you don't run out of patience!
Once I had the basics done, it was just a case of adding more details and painting it. During this stage I pretty much stuck to the original plan although I had planned on adding a trench to the left of the bridge but when I cam to it it didn't work out. There needed to be some sort of wall there to stop people falling over the edge so I extended the wall from the bridge and added sandbags to that to give it the fortified look.
Unfortunately, I don't have any photos from this stage to when I finished so I can't really explain what I did to get to the finished piece. It is a sure sign that I got carried away in the creative process and forgot about taking photos.
All there is now is a series of photos of the finished project:
the whole thing
the stone house- made from carved Daz Pronto clay

the railings are raised 1/56th scale plastic railings

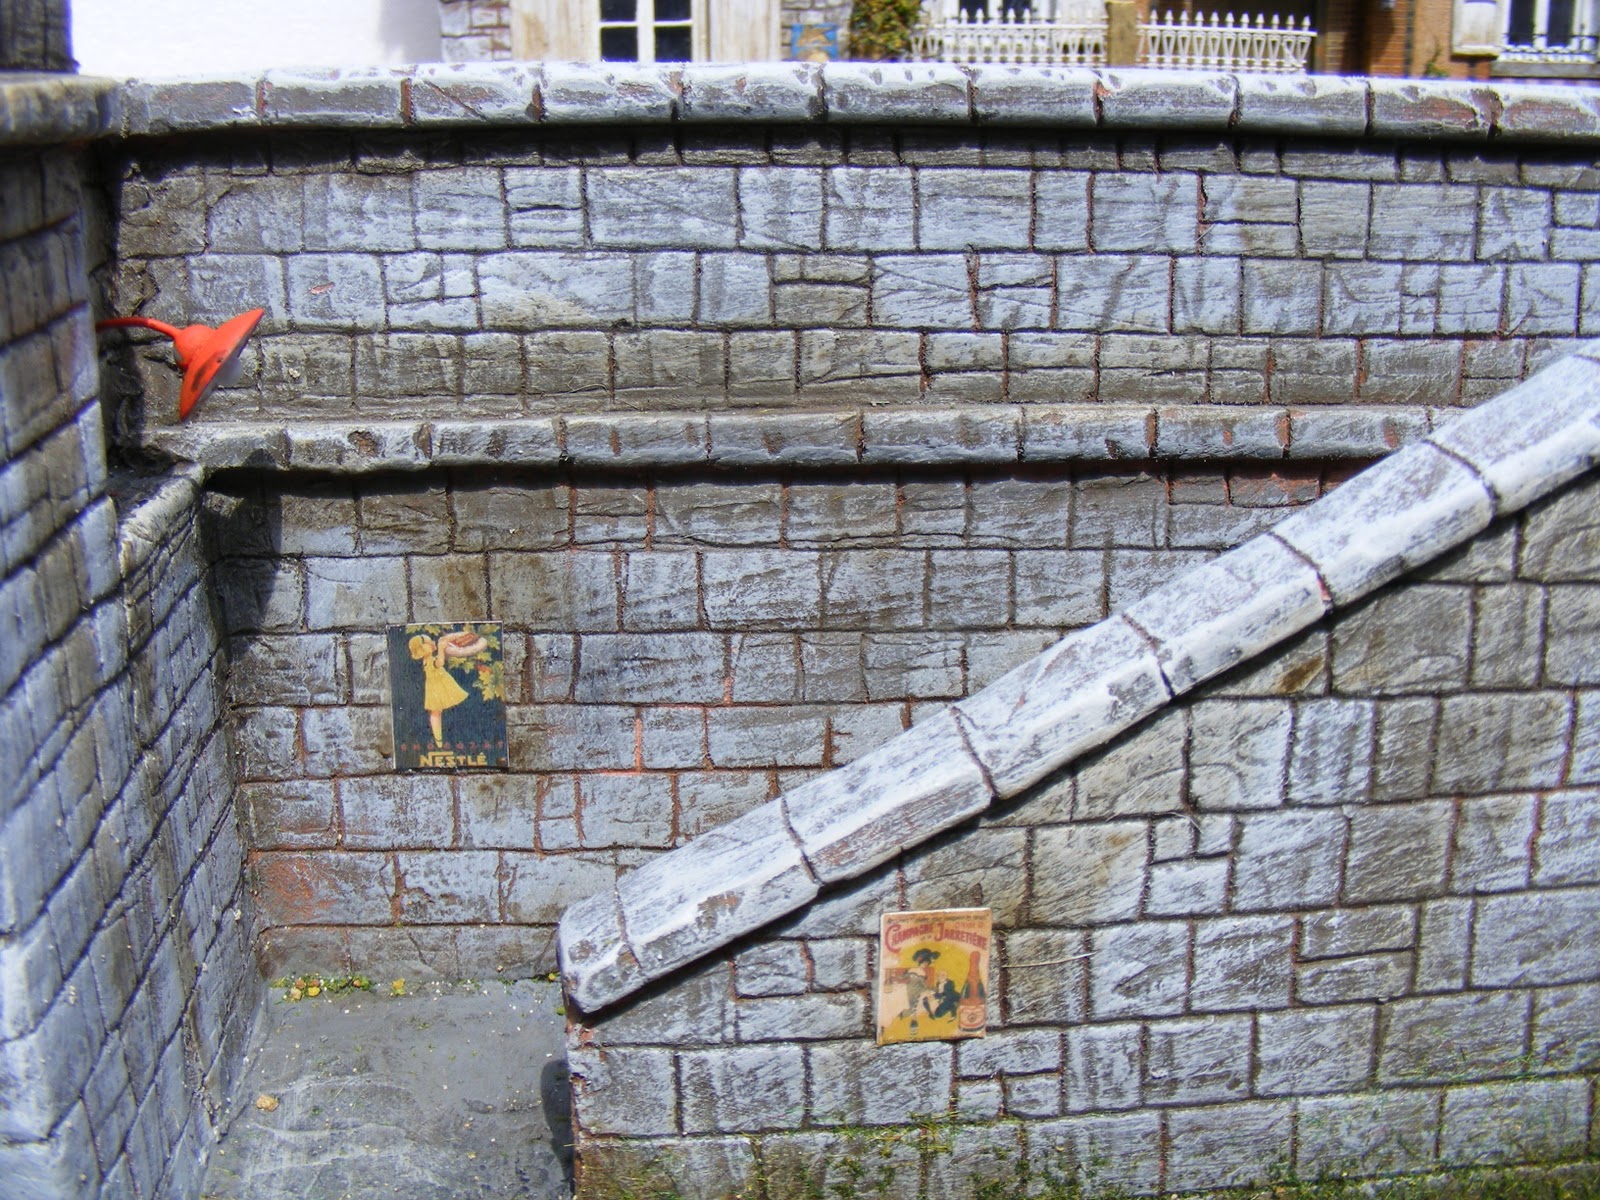
stairs up from the canal- stone is, again, carved Daz Pronto

view from the canal

added broken glass to the windows adds to the look of battle damage

close up of the brick patterns on the front of the house

the sandbags on the retaining wall

a Wespe coming over the bridge

close up of the garden. I like the bullet holes in the window

posters downloaded from the web- they add colour and interest

I just like this shot!

more posters. The bench is from a plastic wild West Saloon set!

close up of the stairs. More posters and a lamp on the wall- I can't remember the company who makes them

roof detail- damaged but neglected

That is it for this project. I was very pleased with how it turned out. I have been asked to make the larger house in 1/56th scale so I am looking forward to that next. Details to follow of course.


Thursday, 8 September 2011

Omaha beach- the final instalment

Life is starting to get back to normal now so should be able to start regular postings again.
To get going again, here is the final part of the Omaha beach building story- it is the best bit- when I get photos from the customer of it in action. It doesn't matter how well I make something it always looks better when you get figures involved.
The first few photos are very soon after my customer received the job with just buildings added to the landscape- the calm before the storm.
Now..... day break, June 6th........


The photos stopped after this- I guess the war photographer bought it on the beach. Even early on it looks like a great game was had by all (except maybe for the allied armour commander).
I am glad I was involved in such a spectacle.
The landing craft all came from Ravensthorpe Miniatures. They shipped them to me, I painted them and then shipped them onto the USA. I am pleased how they turned out- it can be tough to make large flat, untextured surfaces look any good.
That is it for this project.